I hadn’t used my light tent for a little while, so the other afternoon I thought it would be a good idea to give it some air, carry out a bit of macro flower photography, and put together a quick tutorial on the subject while I was at it.
So, I started by removing the tent from it’s pouch, remembering to stand back a suitable distance while it energetically unfurled, like a hungry lion pouncing on an imprudent gazelle, into its natural shape, and after waiting for it to settle, I positioned it on a suitable table.
 |
| Once released from its enclosure, the tent is quite spacious. |
Before placing the subject inside, I wanted to add a backdrop to complement the flowers. The tent comes with a small selection of material backdrops, black, white, red and blue but I had in mind something more interesting, that I hoped would add a bit extra to the images.
The day before, I had searched online for simple background designs, of which there are plenty to be found on those free screensaver websites, I then simply downloaded and printed out the ones I thought would work, onto A4 paper.
Setting up a small tripod at the back of the tent, I could then, with the judicious application of blue-tac, use it as a support to stick the backgrounds to, plus I could then quite easily swap them around for different looks without disturbing the main subject.
 |
| A selection of the backgrounds used |
Using a holder, in my case a small thermos flask, I deposited the selected flower inside, making sure to trim it down so it stood directly in front of the background. I then positioned the lights either side of the tent, so they would create shadows, depth and texture to the blooms, and hopefully make them a bit more interesting.
Once the set up was complete it was time to get out the camera, mount it on a sturdy tripod and get to work.
 |
| Extension tubes |
The macro lens I was using wasn’t exactly a macro lens at all, it was a 24-70 lens on the end of an extension tube set, which, although it can be slightly tricky to use, as depth of field is as close to zero as it can be, it does give some interesting results.
Setting up the camera with the end of the lens barely centimetres away from the flower, I engaged live view. All focusing has to be done manually because the extension tubes disengage all connectivity between the lens and the camera, so auto focus is impossible, but also because at these distances the only way to get proper focus is to do it manually, and the zoom function in live view is great for that.
Getting each shot was a fairly slow process, as the flower and the camera needed to be positioned not only relative to each other, but also to the section of the background I wanted to include, and even the tiniest of movements rendered the flower, completely out of focus.
So there was a lot of shuffling about, focusing, re-shuffling, re-focusing etc for each shot, and even then a good proportion of them were not as sharp as I’d have liked. Even though with live view engaged there is no mirror movement when the shutter is pressed (remotely of course), it’s still a bit of a challenge.
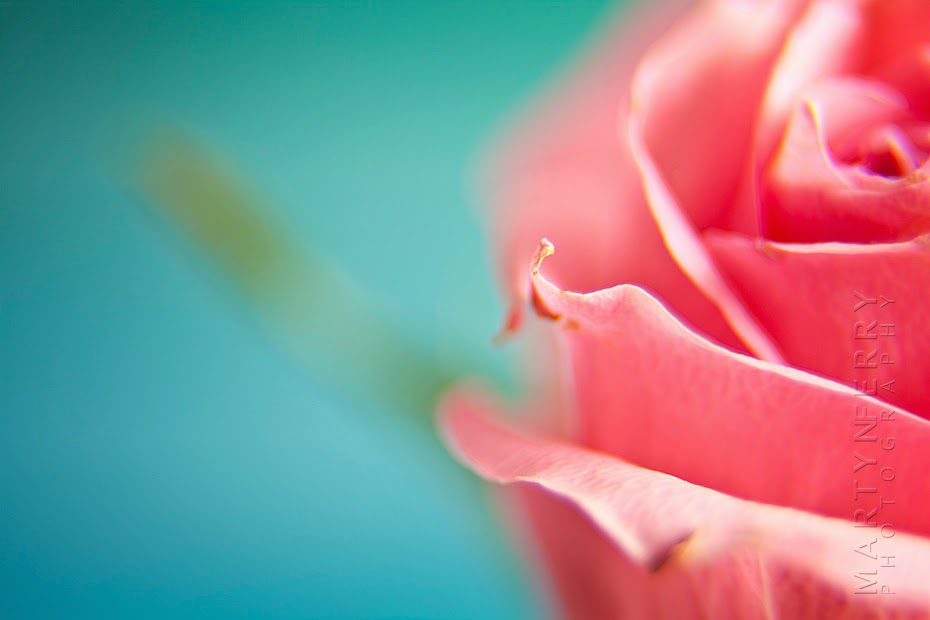
Here are a few of my favourite shots from that afternoon, making the most of the macro view and the shallow depth of field, to create some interesting compositions.
 |
| With these two shots you can see the difference changing the background has on the feel of the image. |
To finish off, if anyone has the same light tent I do, then this instructional video on how to pack it away could prove a real help, at least it might save any instances of furious tent wrestling, as you try desperately to outsmart it.


No comments:
Post a Comment